I wanted to make a video in which two clips were seen together at the same time and upload it to my Youtube channel, and as I didn't find on the Internet how to do it, I decided to find it out by myself. The answer is simple:
Crossfade.
This is an animation that Movie Maker offers , and it is difficult to achieve the effect you want but with practice you can do it.
¡ Let's start!
1. You can only make the crossfade with 2 clips.
*In the beginning of my video, I put the digivolution clips together and I saved them as a movie, so now I have just one clip.
2. You have to choose which one will be your clip#1 and your clip#2.
This is important, because the clip#2 will be the one which be superimposed(which see above).
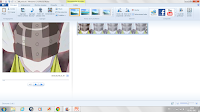 |
| Clip #1 |
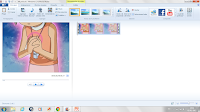 |
| Clip#2 |
3. Add a video before clip# 1(about 10 seconds).
In the next step I'm going to explain why you must do this. When you're ready, save it as a movie.
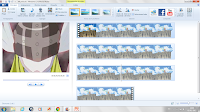 |
| Result |
4. Add a video before(about 1 second or less) and another after(about 10 seconds) Clip # 2.
When you are done, save as a movie.
The crossfade starts weak, then grows stronger, and ends up weaker until it disappears. We did this and the previous step because the weak part at the beginning of the crossfade (which would be the extra video that we added at the beginning of #2 ) will be over the extra video we have added to #1.
We added another extra video at the end of clip #2 for the weak part at the end of the crossfade be itself. Thanks to this steps(no.3 and no.4), our original clips will be clear when we'll unite them together.
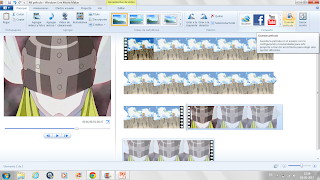
 |
| Result |
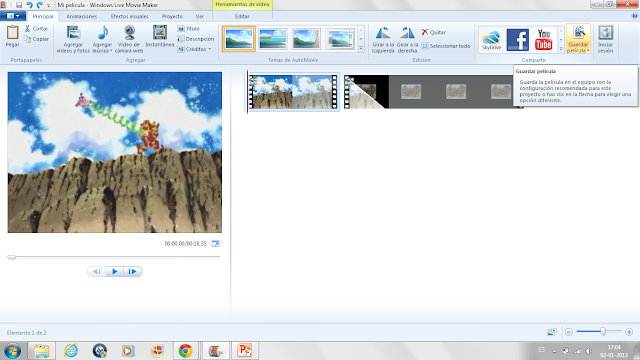
5. Add in the same project the result of clip#1 and clip# 2.
#1 at the left and #2 at the right.
6. Select the clip#2, go to "Animations" and press "Crossfade".
7. Where it says "Duration"(at the right), write 10(seconds).
I personally like to put the maximum amount of time(10 seconds). If you put a short duration,the crossfade will looks like a transition instead of an effect(and that's not the idea).
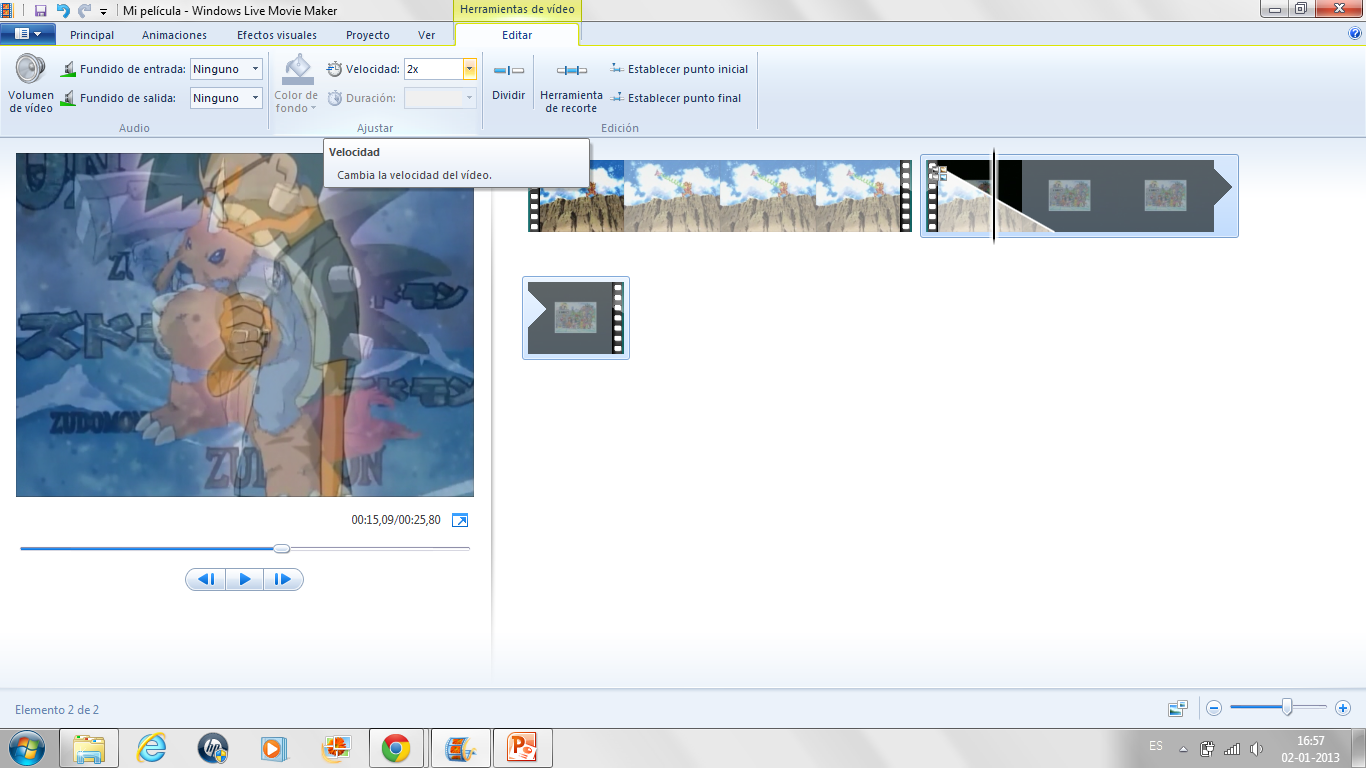
8. Make some adjustments for the purpose of overlap your videos just as you want..
You can adjust the speed of the clips(at "Video Tools"), cut off some pieces of the extra videos added to the original clips, or diminish a little bit the duration of the crossfade. You have to keep trying until you get the result that you want.
9. Once you're done, save as a movie.
10. Add the resulting video, and cut off the parts where de crossfade isn't visible.
11. Save the movie and, the video is finished!
I know it is a long process and you need patience, but the result looks great.
Hope this tutorial has helped you :) If you liked my blog subscribe,coment and share it please, you would help me a lot. I'll be uploading interesting things ;)
If you liked my Youtube video,rate,coment or share it :D I upload many videos and I'm getting better and better, so subscribe and watch them ;) My Youtube channel is on the feed.
If something is not clear,any grammar mistake(my first language is Spanish),or doubt, write it on the comments and I'll answer it or fix the mistake.


